Use PhotoStitch a color para crear bordado a partir de fotografías y otras imágenes. Mientras FotoPuntada y PhotoStitch de arrecife producen diseños de bordado unicolor, PhotoStitch a color produce bordados jaspeados usando varios colores de hilo. El objetivo es el mismo para cualquier foto – emplear el menor número de colores/hilos para lograr un buen resultado con el mínimo de puntadas y recortes.
1Escanee o cargue la foto que desea usar. Use imágenes con temas bien definidos o tonos que varíen constantemente para obtener resultados óptimos. Vea Cargar ilustraciones de mapa de bits para más información.
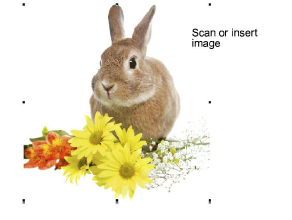
2Dimensione y/o recorta la imagen para el destino propuesto. 400 mm (16”) es el límite. Vea Preparar fotos para la digitalización automática para más información.
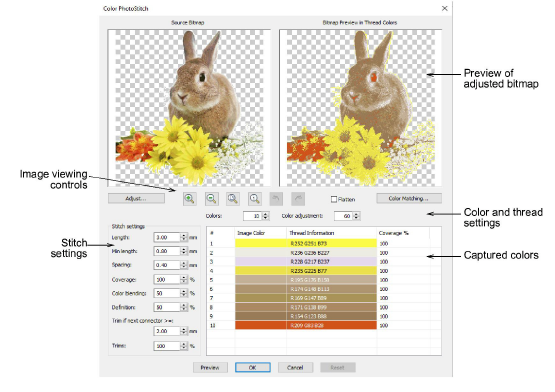
3Con la imagen seleccionada, haga clic en PhotoStitch a color. PhotoStitch a color analiza la foto y genera una lista de colores de hilo con base en los colores de la imagen. El diálogo permite el control interactivo de las configuraciones de color y puntada.
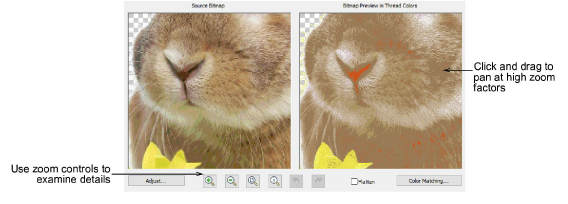
4Analice el panel de vista previa. Use los botones de zoom para examinar en detalle la vista previa de la imagen. Alternativamente, puede también aumentar y disminuir el zoom con la rueda del ratón.
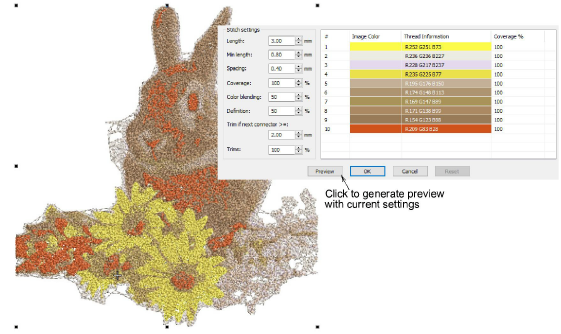
5Use Vista previa para generar costuras temporales sin cerrar el diálogo. Mueva el diálogo como necesite para ver previamente el resultado en la ventana de diseño. La ilustración está oculta durante la vista previa
3Ajustar configuraciones de imagen
3Ajustar las configuraciones de colores
3Ajustar configuraciones de puntada
Productos
Complementos de EmbroideryStudio
Soluciones
Aprendiendo
|
Copyright ©2025 Wilcom Pty Ltd | Condiciones de uso | Política de privacidad |

