In preference to the Manual Bead tool, some digitizers flesh out designs using Run or Motif Run and then travel through it, dropping beads manually as and where required. This technique can be used with single or multi-beads.
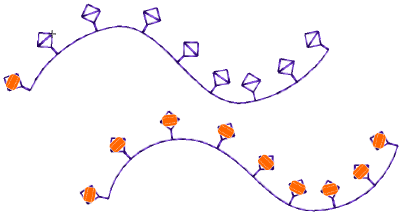
1Select a machine format that supports bead mode via the Select Machine Format dialog.
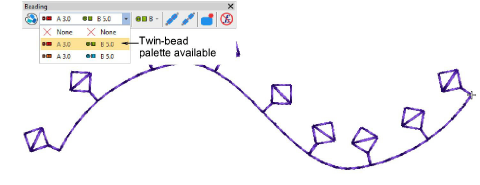
2Set up your bead palette – single or more – according to machine capabilities.
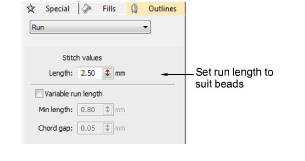
3Set a fixed run length to suit the bead type/s you are using.
4Create the design or pattern you want and choose the bead or beads to use.
5Optionally, open the Stitch List.
6Press the Home button and travel through the design using arrow keys or Travel tools.
7Travel to the insertion point and select Insert Function from the toolbar or Stitch List popup menu.
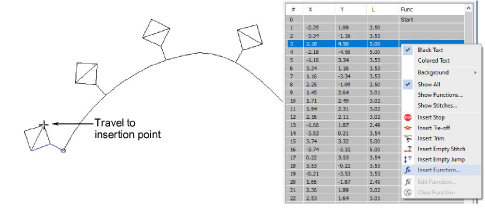
8From the Functions list, select Drop Bead. Depending on machine requirements, you will either add the function to the current stitch, or insert it on an empty stitch or empty jump. See your machine manual for details.
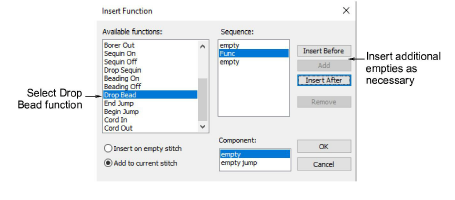
9When the Drop Bead function is correctly defined, click OK. The Select Bead dialog opens showing available beads.
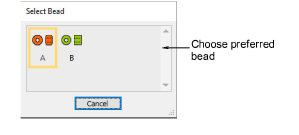
10Choose a preferred bead. The Drop Bead function, together with any additional empty stitches or jumps, is added at the current needle position.

11Continue traveling and inserting beads by the same method.
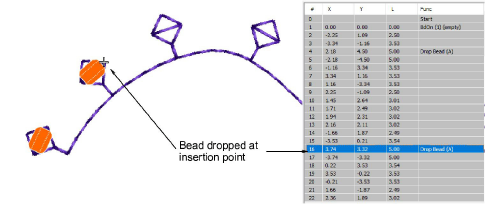
12To delete a bead drop, travel to the location and click the Clear Bead icon.