Click View > Show Grid to show or hide the grid. Right-click for settings.

Click View > Show Rulers & Guides to show or hide rulers and guides. Right-click for settings.
|
|
Click View > Show Grid to show or hide the grid. Right-click for settings. |
|
|
Click View > Show Rulers & Guides to show or hide rulers and guides. Right-click for settings. |
We’ve upgraded the Grid and Guides feature to provide more flexibility, better visibility, and faster design alignment. These improvements make it faster to align, easier to measure, and simpler to repeat patterns, saving time while boosting accuracy. Power users who rely heavily on grids will see a real productivity lift.
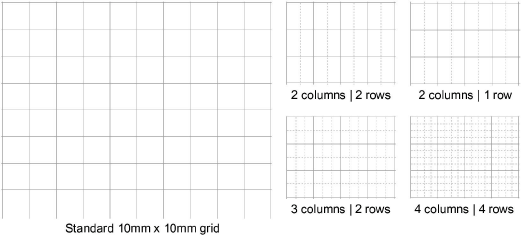
3Work with two grid levels: a main grid plus a finer sub-grid for extra precision.
3Set different divisions for X and Y axes to suit your design needs.
3Two-color grids help distinguish major from minor lines.
3Major lines stand out clearly, making it easier to spot 10 mm divisions when working with fine 1 mm grids.
3Choose between solid, dashed, or dotted styles for maximum clarity.
3Define separate spacings for horizontal and vertical grids.
3Set up multiple grid lines – e.g. 10 mm + 5 mm – for perfect symmetry.
3Drag or numerically set floating guidelines, similar to CorelDRAW.
3Ruler zero points and guide positions are now saved with your design.
3Changing grid spacing now correctly prompts you to save, so no more lost adjustments.
3By default, any guides you bring into the design window appear on top of embroidery, vectors, and bitmaps. By unticking the ‘Display guides on top’ checkbox, guides appear beneath.
3By default, grids appear in the design window on top of any products or backdrops, but beneath vectors or embroidery, including appliqué fabric. By ticking the ‘Display grid on top’ checkbox, grid lines appear on top.
3To remove guides selectively, drag the yellow guide handle off the design window. To remove all guides – horizontal, vertical, or both – right-click anywhere on the horizontal or vertical rulers to access a popup menu with the following options.

3Grid, ruler, & guide display options
3Display grids, rulers & guides
Products
EmbroideryStudio Add-ons
Solutions
Learning
Support
Connect
About Wilcom