Create paired motif fills
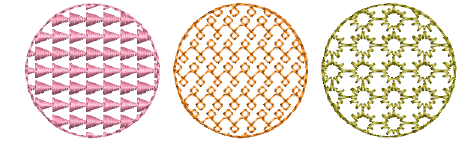
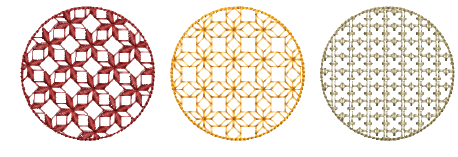
Digitize closed objects with Motif Fill or apply it to existing objects. Almost any closed-object digitizing tool can be used, including Freehand Closed Shape. Mix and match different motifs for forward and backward rows. There is a special Two-Part Motifs set which contains complementary paired motifs.
To digitize a paired motif fill...
1Click Motif Fill and digitize a closed shape with a suitable digitizing tool such as Complex Fill. Stitch angles are ignored.
2Double-click the object or right-click the Motif Fill icon to access object properties.
3In the Motif 1 panel, select a motif set and pattern from the library. For best results, use the Two-Part Motifs set for both forward and backward rows.
4Tick the Motif 2 checkbox and in the Motif 2 panel, select a complementary motif. The predefined two-part motif set is especially designed to provide complementary motifs for forward and backward rows – e.g. ‘Duet01a’ and ‘Duet01b’.
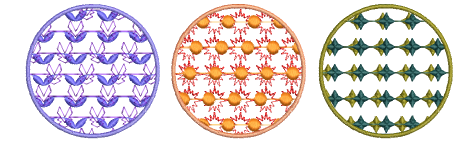
5Adjust motif size and spacing as preferred.
Tip: As an alternative, you can generate layers of colored motifs by duplicating an object and selecting a different color and/or motif. Or, with the Multi Blend tool, you can create multiple layers of stitching using any combination of stitch types, fill styles, and special effects.
Related topics...
3Digitizing with graphical tools
3Creating free-form shapes
3Motif fill settings
3Motif scaling
3Custom motifs
3Stitch layering