
Click View > Show Grid to show or hide the grid. Right-click for settings.

Click View > Show Rulers and Guides to show or hide rulers and guides. Right-click for settings.

|
|
Click View > Show Grid to show or hide the grid. Right-click for settings. |
|
|
Click View > Show Rulers and Guides to show or hide rulers and guides. Right-click for settings. |
|
|
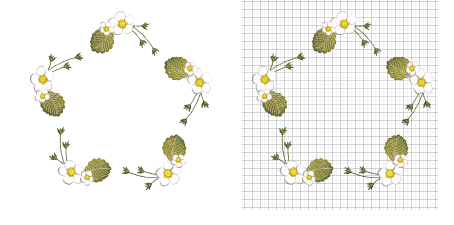
Grids are an essential design aid in EmbroideryStudio, providing a visual framework to help you align, size, and position embroidery objects with precision. By overlaying a grid on the design window, you can quickly gauge distances, maintain symmetry, and ensure consistent spacing across complex patterns.
1Use the Show Grid toggle to turn grid display on or off.
2Right-click Show Grid. The Options > Grid & Guides dialog opens.
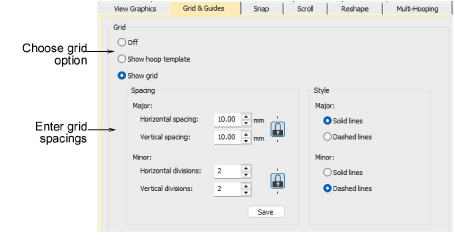
3Choose a grid option:
|
Grid option |
Details |
|
Show hoop template |
The template, especially when printed in the worksheet, provides a means for aligning the design in the hoop at the correct location and orientation. |
|
Show grid |
Alternatively, this option activates grid spacing settings. |
The ability to set custom grid spacings is important. Whether you’re working on fine details that require a 1 mm sub-grid or planning larger repeats that align on 10 mm intervals, flexible spacing helps you work faster and with greater accuracy.

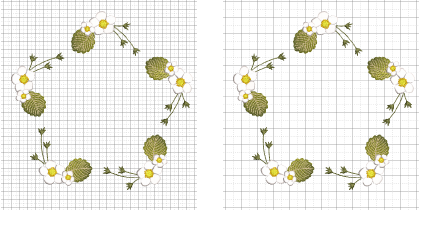
Enter grid Spacing values for horizontal and vertical grid lines. Major grid lines act as clear reference points, while minor divisions give you the fine control needed for professional-quality embroidery layouts.
Adjust grid Style values as preferred – solid or dashed lines – for major and minor grid lines.
3Select the Set Reference Point checkbox to set the zero point of the ruler. For example, you can set the grid reference point to the design center. This is easier and faster than moving the whole design.
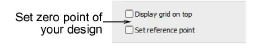
3When you close the dialog, you are prompted to mark the zero point of your design.
3To save grid spacing to the current template, click the Save button.
3By default, grids appear in the design window on top of any products or backdrops, but beneath vectors or embroidery, including appliqué fabric. By ticking the ‘Display grid on top’ checkbox, grid lines appear on top.
3Grid colors can be changed via the Display Colors panel of the Background & Display Colors dialog.
3Display grids, rulers & guides
3Center design & hoop in design window
Products
EmbroideryStudio Add-ons
Solutions
Learning
Support
Connect
About Wilcom