Output current design to multiple formats
By default EmbroideryStudio saves designs to its native EMB format. This contains all information necessary both for stitching a design and for later modification. The Output Files tool prepares production-ready outputs from your design in one step using a saved output profile. A profile can include:
3Machine files: one or more formats – e.g. DST, PES, EXP.
3Design files: one or more EMB file formats. These may include formats used by customers.
3Worksheets: Print and/or save production worksheets or approval sheets.
Set a target destination in the profile or choose at run time.
To output current design to multiple formats...
1Open EmbroideryStudio and prepare your design.
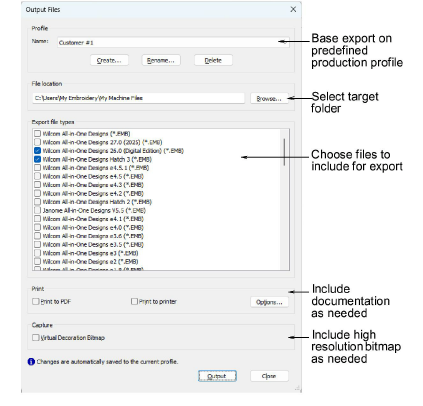
2Open Output Files.
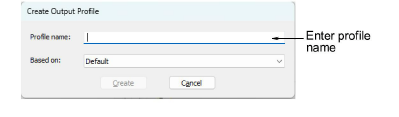
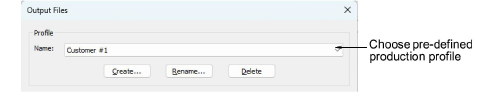
3In Profile, choose ‘Default’ or click Create.
4Enter a name for the profile and click Create. Profiles may be defined by ‘machine’, ‘customer’, or ‘job type’.
5Click Browse to locate a destination folder for the converted designs.
6Under ‘Export file types’, select what you need:
3Machine files: choose one or more formats – e.g. DST, PES, EXP.
3Design files: choose one or more EMB file formats. These may include formats used by customers.
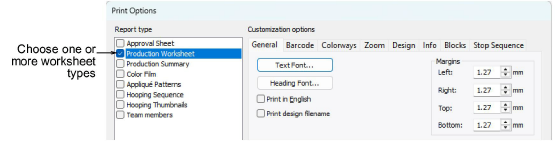
7Under ‘Print’, choose whether to print and/or save to PDF. The Options button allows you to customize print options for worksheets and/or approval sheets.
8Under ‘Capture’, choose whether to capture a high resolution ‘virtual decoration bitmap’ as part of the output.
9Click Output to start the process. The converted designs will be stored in the nominated folder. Alternatively, click Close to exit without exporting. Chosen settings will be saved to the current profile.
To run each time...
1Open Output Files.
2Pick the profile you need – e.g. ‘Tajima Shop Floor’ or ‘Client: Acme’.
3Review the export options and adjust as necessary.
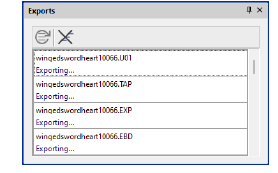
4Click Output. The Exports docker automatically opens. This shows you the export status of the current session. File export is performed as a background task.
Note: From Design Explorer you can batch-convert multiple selected designs to multiple machine file formats – DST, EXP, SEW, etc.
Related topics...
3Output selected designs to multiple formats
3Virtual embroidery
3Machine Formats