Use Toolbox > Buttonhole to place a single buttonhole or use the docker to place a string of buttonholes with all required stitching.
|
|
Use Toolbox > Buttonhole to place a single buttonhole or use the docker to place a string of buttonholes with all required stitching. |
Add a line of evenly spaced buttonholes to your design with the Buttonhole tool. You can specify their size and merge them into a design. Buttonholes are usually formed with satin column stitches bordering a slit that is slightly longer than the button diameter, depending on button thickness. The satin stitch border protects the slit from fraying.
1Open or create a design requiring buttonholes. Or open a product backdrop.
2Select the Buttonhole tool. The Object Properties docker opens.
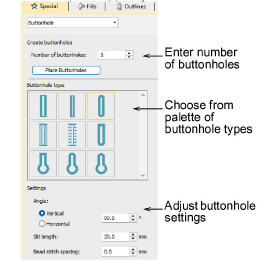
3Enter the number of the buttonholes your design requires and choose from a palette of buttonhole types.
4Click the Place Buttonholes button in the docker.
5Click to place the first buttonhole and drag a line – horizontal or vertical – to the last buttonhole position.
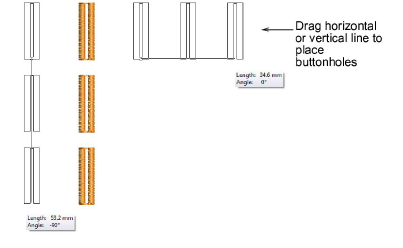
6Select buttonholes individually or as a group, and drag control handles to resize.
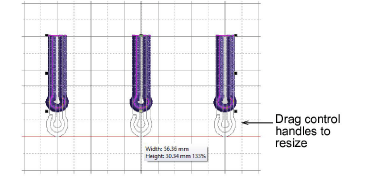
7Use the measure tooltip as a guide and click to complete.
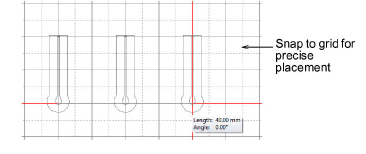
3Use Snap to Grid for precise placement. Reference points, control points or leading edges of objects snap to grid during digitizing, sizing, reshaping, or positioning operations.
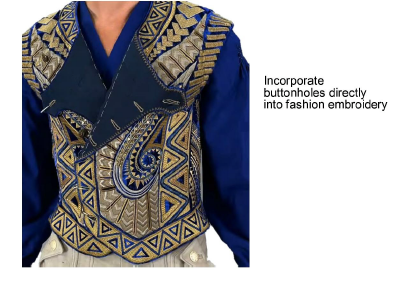
3If you’re creating a fashion piece such as a vest, you can digitize decorative or functional buttonholes directly into the embroidery layout. This allows vest embroidery and buttonholes to be stitched in a single run.
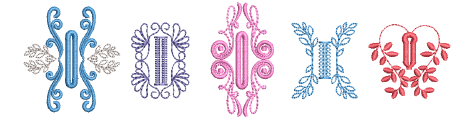
3Incorporate other embroidery elements to create decorative buttonholes. These can be saved to the Embroidery Clipart docker for later reuse.
3Grid, ruler, & guide display options
3Recycling embroidery elements
Products
EmbroideryStudio Add-ons
Solutions
Learning
Support
Connect
About Wilcom