Accordion fills
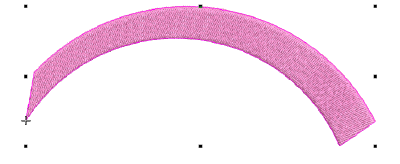
The Accordion Spacing effect varies stitch spacing between dense and open fill, producing gradient and shading effects which are difficult to achieve manually. It provides a simple way to produce variation in a filled pattern and the illusion of depth. It is best used with tatami fill. When applied, current settings – including Auto Spacing and Fractional Spacing – are ignored. However, other settings still apply, including stitch angle.
To apply a preset accordion spacing...
1Select a suitable object – e.g. Complex Fill, Column A/B, or Column C object with tatami fill.
2Click the Accordion Spacing icon. The effect is applied based on current settings.
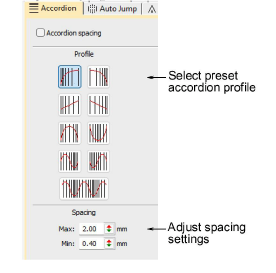
3Right-click the Accordion Spacing icon to access object properties.
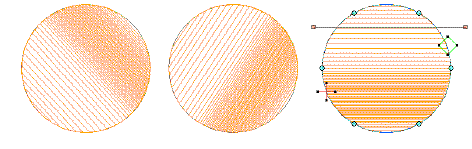
4In the Profile panel, select a preset profile – e.g. Linear, Exponential, Concave, Convex – to define how density changes across the object.
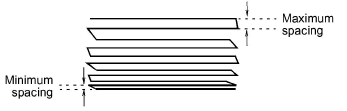
5In the Spacing panel, adjust spacing values:
To apply a custom accordion spacing...
1Select a suitable object – e.g. Complex Fill, Column A/B, or Column C object with tatami fill.
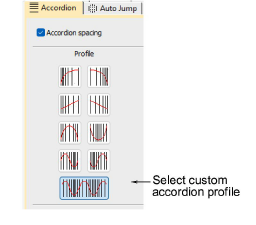
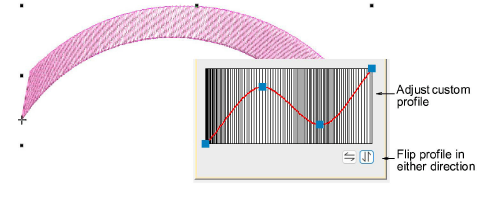
2Right-click the Accordion Spacing icon to access object properties and select Custom profile.
3Use the profile graph to control how stitch density changes across the object.
3Click and drag existing nodes to reshape the curve.
3Click anywhere on the graph to add a node.
3Click a node to delete it.
3Use the buttons to flip the profile horizontally or vertically for mirrored variations. This is especially useful when layering complementary profiles.
Usage tips...
3Apply Trapunto effect to force underlying travel runs to the object edges so they don’t show through open stitching.
3Turn off Auto Underlay to avoid unwanted underlying stitches.
3Use the Reshape tool to adjust gradient fill angle.
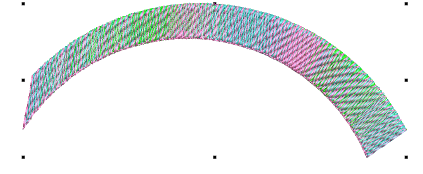
3Combine several fills using the Multi Blend effect to create complex tonal transitions or texture variations.
3Use the Flip buttons to create complementary profiles for different layers.
Related topics...
3Trapunto effect
3Adjusting stitch angles
3Stabilizing with underlays
3Multiple blends