En la lista Mis aros, usted puede seleccionar manualmente su aro preferido. Generalmente deseará seleccionar el aro más pequeño que acomode su diseño. Esto mantendrá la tela apretada mientras se borda.
1Abra el diseño y haga clic en el icono Mostrar aro. El aro actual se muestra. Puede que sea demasiado grande o pequeño para su diseño.
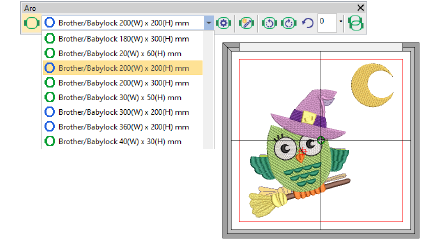
2Seleccione un aro de la lista Mi aro. Configure la lista para que incluya sólo aquellos aros que usted tiene a disposición actualmente por medio de la función Mis aros.
3Haga clic en el icono Hacer zoom en el aro, seleccione Visualizar > Zoom > Hacer zoom en el aro o pulse Alt+0 para ver todo el aro en la ventana de diseño.
3El botón Mostrar aro en la barra de herramientas Aro no controla la visualización del aro en la hoja de trabajo de la producción. Hay una casilla de verificación Aro en el diálogo Opciones de impresión para controlar esto.
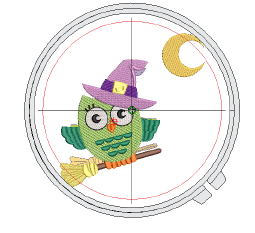
3Opcionalmente, despliegue la Plantilla de aro mediante el diálogo Opciones o el menú Visualizar. La plantilla puede usarse para ayudar a posicionar el diseño dentro del aro.
3Puede incluir la plantilla de aro en la hoja de trabajo de producción. Esto le permite recortar el diseño impreso y alinearlo dentro del aro. Use las marcas en la plantilla para alinearla con la plantilla de aro física.
3Visualizar componentes del diseño
3Visualizar cuadrículas, reglas y guías
3Personalizar reportes de diseño
Productos
Complementos de EmbroideryStudio
Soluciones
Aprendiendo
|
Copyright ©2025 Wilcom Pty Ltd | Condiciones de uso | Política de privacidad |


