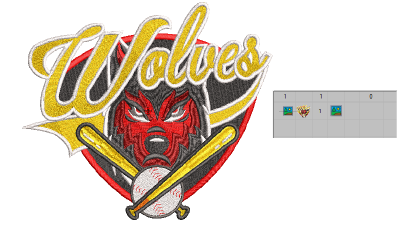
La combinación de bordados reales y virtuales ofrece posibilidades interesantes. Esta técnica se puede utilizar artísticamente o para añadir textura y profundidad a un diseño impreso. También se puede utilizar para reducir los costos de corridos de producción grandes manteniendo la apariencia de bordado real.

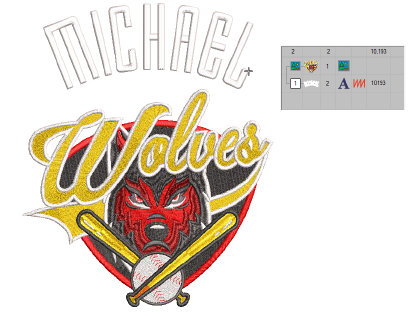
Típicamente, creará una impresión de bordado virtual de todo el diseño y luego superpondrá bordados reales en algunas partes de él. Alternativamente, puede agregar elementos de bordado como letras o nombres de equipo sobre un diseño impreso. Incluso es posible bordar todo el diseño en hilo blanco e imprimir bordado virtual sobre él. Para producir un diseño como bordado real más bordado virtual, tiene dos opciones – mediante Modalidad bordado o mediante Modalidad gráficos.
1Cree una decoración virtual de su diseño de bordado. Véase anterior.
2Importe el archivo PNG a un nuevo diseño en blanco mediante Archivo > Importar gráfico.
3Agregue la parte de bordado real del diseño. Esto puede ser una parte del diseño original. O puede ser un nuevo componente como letras o incluso Nombres de equipo.
4Haga clic con el botón derecho en Inicio y fin automáticos.
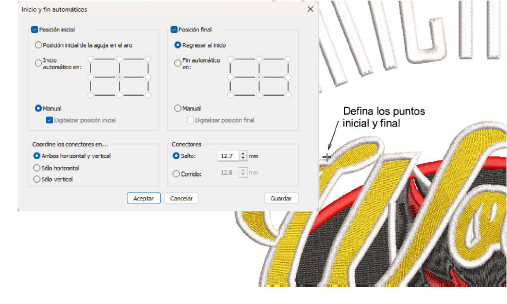
5Elija Digitalizar punto de inicio y fin y haga clic en Aceptar. EmbroideryStudio le indicará que haga clic en el punto donde quiere que comience y termine el diseño.
6Establezca un punto con el cual pueda alinear fácilmente la aguja. Cuando borde el componente bordado, la aguja comenzará y terminará en ese punto.
1Seleccione el comando Archivo > Exportar archivos multi-decoración.
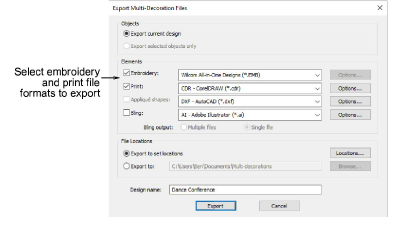
2Divida los archivos de producción de bordado y de impresión gráfica y seleccione los formatos a exportar – p. ej. DST y PNG.
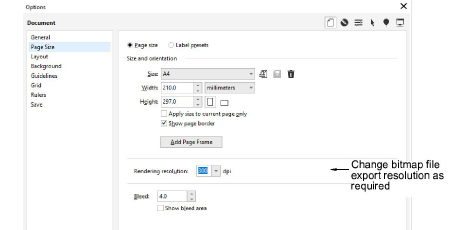
Nota: Si elije PNG, se predeterminará 300 DPI, la configuración predeterminada de CorelDRAW®. Esto puede cambiarse mediante el diálogo Opciones.
3Para obtener el archivo de producción de bordado, seleccione Archivo > Exportar archivo de máquina en la pantalla de Modalidad bordado y escoja un formato de archivo de máquina apropiado – p. ej. DST.
3Para obtener el archivo de producción de gráficas, cambie a Gráficas CorelDRAW:
3Desactive la visualización del bordado.
3Seleccione Archivo > Exportar > PNG para exportar el archivo de impresión para la parte gráfica solamente.
3Producir bordado como decoración virtual
3Visualizar componentes del diseño
3Crear diseños de nombres de equipo sencillos
3Exportación de archivos multidecoración
Productos
Complementos de EmbroideryStudio
Soluciones
Aprendiendo
|
Copyright ©2025 Wilcom Pty Ltd | Condiciones de uso | Política de privacidad |


