Crear líneas a mano alzada
 Con acceso desde la barra de herramientas Digitalización gráfica, la prestación a mano alzada se puede lanzar de dos maneras: ‘Forma abierta’ y ‘Forma cerrada’. Al igual que las otras herramientas de digitalización, las herramientas para dibujo a mano alzada se pueden usar en conjunto con todos los tipos de puntadas. Con estas herramientas, sin embargo, usted dibuja directamente objetos en pantalla. Así que es posible producir efectos artísticos parecidos a los que se logran con las máquinas de bordado de libre movimiento o ‘pintar hilos’.
Idea: Las herramientas de Bordado se pueden manejar con un ratón o un lápiz de WACOM.
Para crear líneas a mano alzada...
3Al digitalizar con las herramientas Mano alzada, la opción Desplazamiento automático necesita estar desactivada. Use la combinación de teclas Ctrl+Mayús+A para activar/desactivar.
3Cree contornos abiertos con la herramienta Forma abierta a mano alzada. Seleccione cualquier puntada de contorno y haga clic y arrastre para dibujar. Suelte para terminar.
3Ensaye a crear caligrafía bordada combinando la herramienta Forma abierta a mano alzada con los controles de ángulo y orientación Columna C.
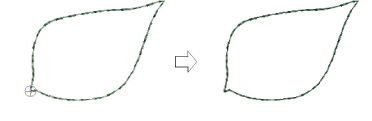
3Para crear contornos cerrados, use Forma cerrada a mano alzada en conjunto con una puntada de contorno.
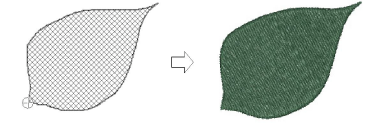
3Para crear rellenos cerrados, use Forma cerrada a mano alzada en conjunto con una puntada de relleno.
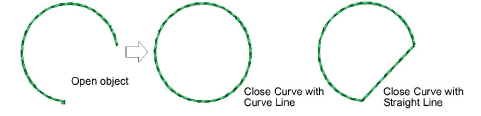
3Si decide cerrar el objeto, use el comando Editar > Cerrar curva > ... con la opción de usar puntos rectos o en curva.
Temas relacionados...
3Opciones de desplazamiento
3Establecer ángulos y orientación