|
|
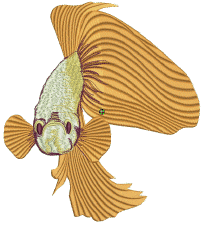
Use Panel acoplable > Estampador de talla para definir el patrón de las penetraciones de la aguja usando un ‘estampa de talla’ como plantilla. |
|
|
Use Panel acoplable > Estampador de talla para definir el patrón de las penetraciones de la aguja usando un ‘estampa de talla’ como plantilla. |
La pestaña Digitalizar le permite digitalizar líneas de división y aplicar directamente in situ a cualquier objeto apropiado en la ventada de diseño.
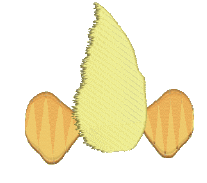
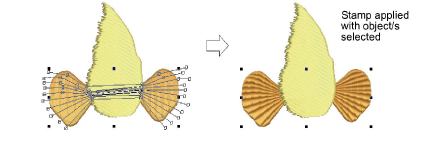
1Seleccione un objeto de bordado o no, como precise. Si los objetos de bordado se encuentran preseleccionados, los sellos digitalizados se aplicarán sólo a estos objetos.
2Haga clic sobre el icono Estampador de talla y seleccione la pestaña Digitalizar en el diálogo.
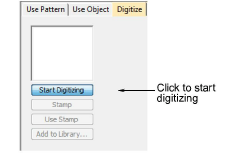
3Haga clic sobre el botón Empezar a digitalizar. Se le avisa que debe introducir un punto de entrada para el contorno del sello.
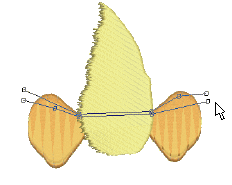
4Digitalizar líneas de división:
3Pulse Intro una vez para completar un borde.
3Pulse Intro otra vez para terminar de digitalizar el sello.
5Hcer clic en el botón activado Sello.
3Haga clic en el botón Sello para aplicar el sello sólo a los objetos pertinentes.
3Como alternarnativa, use Sello para aplicar el sello a los objetos pertinentes sin objecto/s seleccionados. Todos los objetos debajo de la estampa se afectan.

3Haga clic en el botón Usar sello para posicionar el sello. Se le solicitará ingresar un punto de ancla como con los patrones predefinidos.

6Opcionalmente, haga clic sobre el botón Añadir a biblioteca para añadir la selección a la biblioteca para usar en un futuro.
3Aplicar patrones predefinidos
3Añadir estampas a una biblioteca
Productos
Complementos de EmbroideryStudio
Soluciones
Aprendiendo
|
Copyright ©2025 Wilcom Pty Ltd | Condiciones de uso | Política de privacidad |
