Puede aplicar Efecto florentino o Efecto líquido a múltiples objetos en un diseño. Todos los objetos comparten la misma línea curva.
1Con la herramienta Digitalizar corrido, digitalice una línea guía para que la curva la siga. Digitalice una segunda línea si quiere aplicar Efecto líquido.
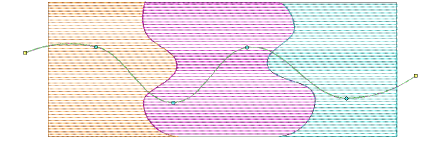
2Con la línea guía seleccionada, seleccione Objeto > Usar para efecto florentino. Esto etiqueta el corrido digitalizado como la línea curva predeterminada.
Idea: Con dos líneas guía seleccionadas, se vuelve disponible el comando Objeto > Usar para efecto líquido.
3Seleccione un objeto y haga clic en el icono Efecto florentino. Tenga en cuenta que las puntadas ondulantes siguen la guía.
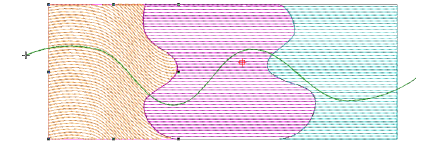
4Aplicar a los otros objetos de la misma manera. Observe que las puntadas ondulantes siguen nuevamente la línea guía original.
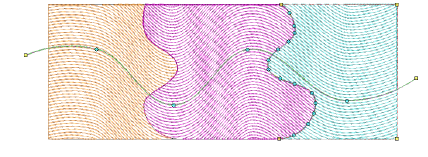
5Pulse Esc para completar. Opcionalmente, elimine el objeto de corrido original si no se requiere como parte del diseño.
Idea: Active TrueView™ o use el icono Mostrar penetraciones de aguja para ver los resultados.
3Digitalizar contornos y detalles
Productos
Complementos de EmbroideryStudio
Soluciones
Aprendiendo
|
Copyright ©2025 Wilcom Pty Ltd | Condiciones de uso | Política de privacidad |


