If you have a multi-sequin capable machine, you can assign different sequins from the palette to split areas within sequin fills. The process is analogous to creating stitch patterns with custom splits.
1Choose a suitable machine format and prepare a palette of sequins according to capabilities of your chosen machine.
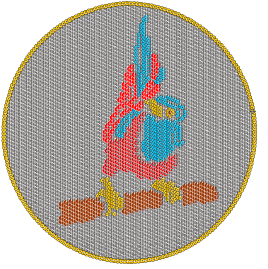
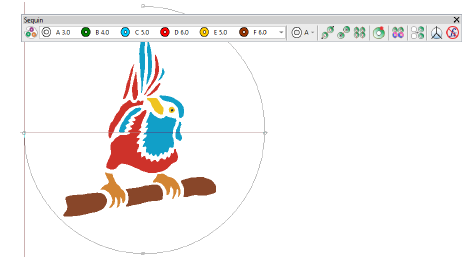
2Load any artwork you intend to use and digitize the background fill with the Sequin Fill tool.
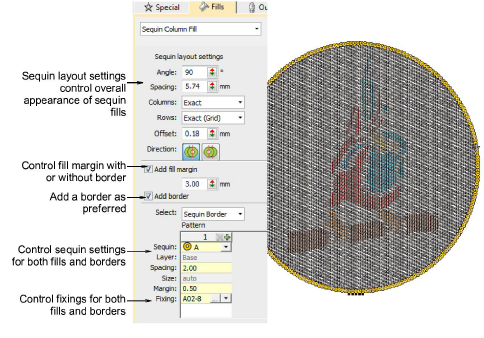
3Double-click the object to open Object Properties. Adjust settings as necessary.
4Create the outlines you will use to create the pattern. Sequin Fill is used in combination with Carving Stamp to create stamp patterns.
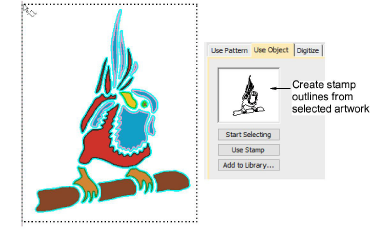
The Use Object tab allows you to select object outlines from the design window for use as a temporary stamp. You can use an embroidery object or vector object as the template.
5Adjust view settings as necessary and click Use Stamp to apply split lines to your sequin fill.
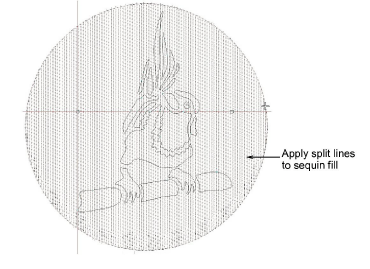
6Click the Sequin Split Edit tool. Split lines appear within the sequin fill. Move your cursor over the areas to highlight each in turn.

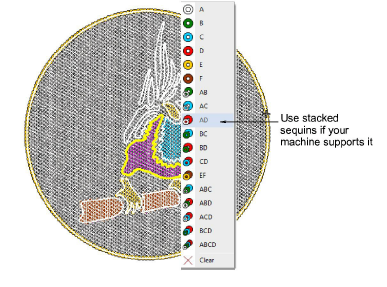
7Click an area to select it and right-click to invoke the popup sequin palette.

8Select a replacement sequin from the popup menu.

9Continue in the same manner, clicking areas to select and choosing replacement sequins from the popup menu. If your machine supports it, you can use stacked sequins.
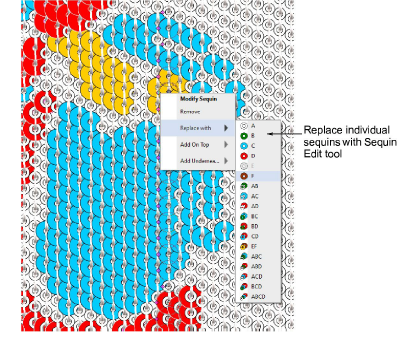
10For fine-tuning, instead of using the Sequin Split Edit tool, use the Sequin Edit tool to swap individual sequins.
11Press Esc to complete and zoom out to inspect the result.
Tip: If you have defined reversible or ‘flip’ sequins, click the Flip Sequin toggle to view reverse sequins as they will appear in stitchout. See Flip sequins for details.
|
Copyright ©2024 Wilcom Pty Ltd | Terms of Use | Privacy Policy |


