To fill narrow shapes of constant width, use Coil or Square outlines with Moss stitching.
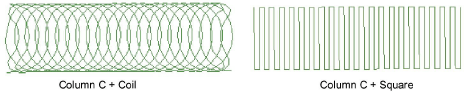
Select your preferred stitch pattern with Outline Stitch > Coil or Square.
Select the preferred chenille stitch type:
|
Chenille stitch |
Uses |
|
|
|
Create dense cover using looped stitch typical of chenille raised stitching. Can be used with Coil or Square fill patterns. |
|
|
|
Create decorative stitching resembling links of a chain. Can be used with Square fill pattern. |
|
Create a chenille object using Column C as your input method.
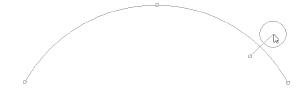
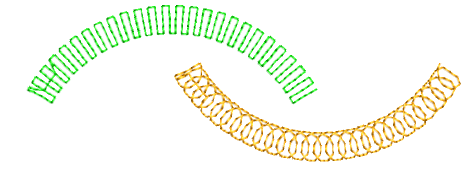
Tip: There is a limitation with Coil in handling sharp corners. Square patterns are generally better suited. The Smart Corners effect can be used with Column C objects.
Press Enter to generate the shape.
Juggle spacing settings in accordance with yarn thickness.
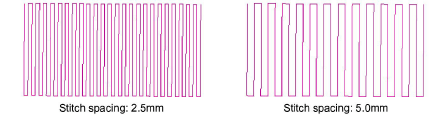
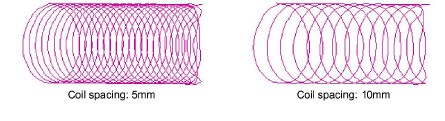
Adjust coil spacing for looser or tighter looking chenille. Combine with width to achieve the desired chenille look.
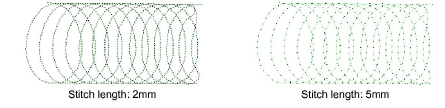
Stitch length determines the gap between needle points. For chain stitching, 2mm is standard. For moss stitching, it may be adjusted for yarn thickness.
Note: If you are using moss stitching, you need to create a border around the object. For this, you typically use the Run method with Chain stitching. If your machine supports it, you may also combine chenille with regular tie-off stitching.
|
Copyright ©2024 Wilcom Pty Ltd | Terms of Use | Privacy Policy |


