There are two fundamental design modes in EmbroideryStudio:
Wilcom Workspace: This mode allows you to create and edit embroidery objects using an embroidery digitizing toolset.
CorelDRAW Graphics: This mode allows you to create and edit vector objects using the CorelDRAW® Graphics Suite toolset.
Wilcom Workspace also provides tools for drawing shapes and outlines directly on screen. In this mode, you can also import or paste third-party vector graphics such as clipart for use as digitizing backdrops. Scale and transform them in the same way as embroidery objects. You can also select colors for vector object outlines and fills.
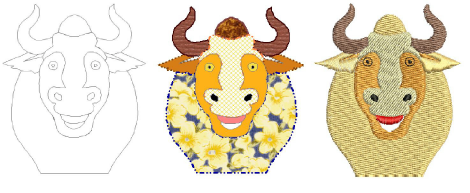
The Auto\ Trace To Vectors feature lets you convert scanned artwork to vector objects. You can then convert these to embroidery objects using a variety of input methods.
When working with overlapping vector or embroidery objects, merge, trim or split them using Shaping tools.
CorelDRAW Graphics includes the entire suite of CorelDRAW® Graphics Suite drawing tools which offer many sophisticated techniques for drafting outlines and shapes on screen. Vector graphics so created can be directly converted to embroidery objects or even entire designs. Alternatively, you can insert or paste third-party vector graphics such as clipart for use in embroidery designs. Or, insert, paste or scan bitmap artwork for use as digitizing templates or ‘backdrops’.
Tip: For a full description of the CorelDRAW® Graphics Suite tools, refer to the electronic User Guide available via the MS Windows® Start > Programs group. Alternatively, use the online help available from the Help menu.
This section describes how to create vector objects using the digitizing tools as well as how to import them from third-party applications. It also explains how to merge, trim and split overlapping vector or embroidery objects using the shaping tools.
|
Copyright ©2024 Wilcom Pty Ltd | Terms of Use | Privacy Policy |