Before using bitmap images for design purposes, crop them to remove unnecessary detail and save processing time. EmbroideryStudio allows you to ‘soft crop’ images which means that you can redefine or remove the cropping area at any stage.
1Scan or insert the photo you want to use. For best results, use crisp images with well-defined subjects and strong contrasts. See Loading bitmap artwork for details.
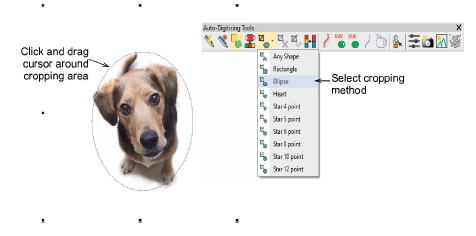
2Select the image and choose a cropping tool from the Crop Bitmap droplist. The same options are available under the Graphic menu.
3Click and drag the cursor around the area to be cropped.
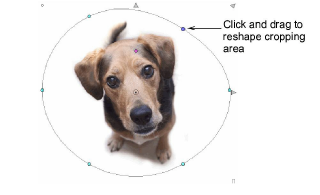
4Reshape or transform the cropping area with the Reshape tool.
To reposition the cropping area, click and drag the diamond-shaped positioning handle.
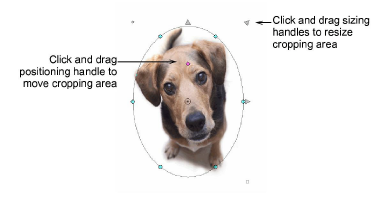
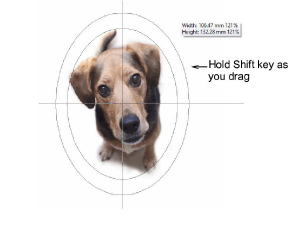
To resize the cropping area, click and drag the triangular resizing handles. To center the resizing operation around the anchor point, hold the Shift key as you drag.
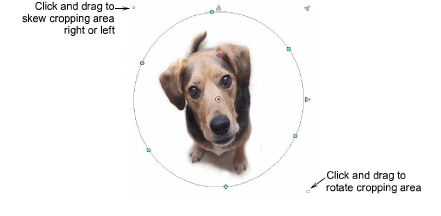
To rotate or skew the cropping area, click and drag the control points in the top-left and bottom-right corners.
Click and drag the reshaping nodes to reshape the cropping area.
5Alternatively, use the Any Shape method to digitize a cropping area.

Click Select Object or press Esc to close.
Click Remove Crop to remove a cropping area applying to selected artwork.
Click the Finalize Crop tool to crop an image to its new visible extents.
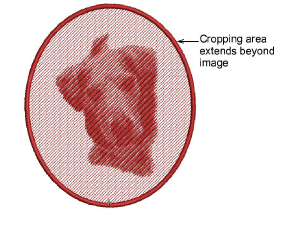
The background can be oversized to accommodate a cropping area which extends beyond the image. This is useful for Photo Flash operations.
When you create a cropped area, it is considered ‘temporary’ and can be reshaped at will. By using the Finalize Crop command, you make the crop permanent. The only way back is via the Undo command or by reinserting the original bitmap.
|
Copyright ©2024 Wilcom Pty Ltd | Terms of Use | Privacy Policy |


