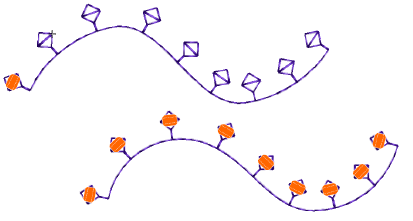
In preference to the Manual Bead tool, some digitizers flesh out designs using Run or Motif Run and then travel through it, dropping beads manually as and where required. Questa tecnica può essere utile con paillette singole o multiple.
1Seleziona un formato macchina che supporti la modalità perlina tramite il dialogo Seleziona formato macchina.
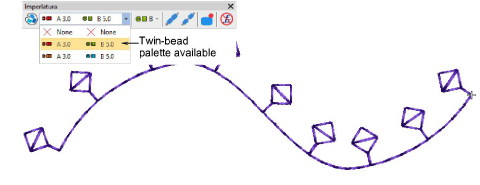
2Set up your bead palette – single or more – according to machine capabilities.
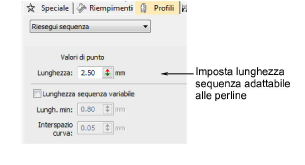
3Imposta una lunghezza sequenza fissa adatta al tipo di perlina che stai usando.
4Create the design or pattern you want and choose the bead or beads to use.
5Facoltativamente, apri l’Elenco punti.
6Premi il pulsante Home e viaggia attraverso il disegno utilizzando tasti freccia o strumenti Viaggia.
7Travel to the insertion point and select Insert Function from the toolbar or Stitch List popup menu.
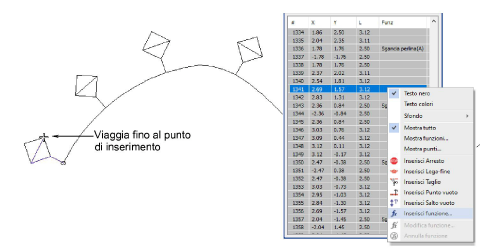
8From the Functions list, select Drop Bead. Subordinatamente alle esigenze della tua macchina, dovrai aggiungere la funzione al punto attuale, oppure inserirla su un punto vuoto o salto vuoto. Per particolari consulta il manuale dell’utente della macchina.
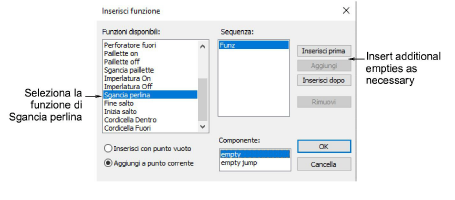
9When the Drop Bead function is correctly defined, click OK. The Select Bead dialog opens showing available beads.
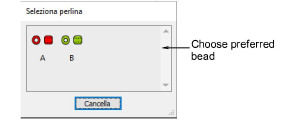
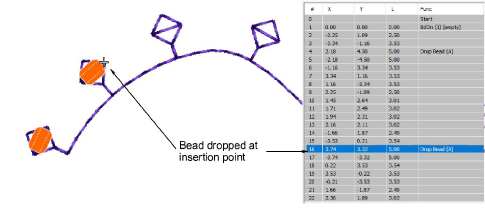
10Choose a preferred bead. The Drop Bead function, together with any additional empty stitches or jumps, is added at the current needle position.
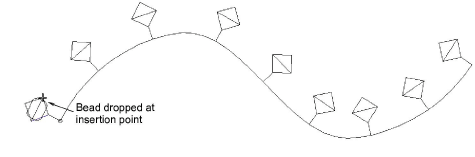
11Continue traveling and inserting beads by the same method.
12To delete a bead drop, travel to the location and click the Clear Bead icon.
Prodotti
Componenti aggiuntivi di EmbroideryStudio
Soluzioni
Apprendimento
|
Copyright ©2023 Wilcom Pty Ltd | Condizioni d'uso | Informativa sulla privacy |


