
Use Toolbox > Lettering to add special characters and symbols. Right-click to select lettering options.

Use Reshape > Reshape to reposition individual letters on screen.
|
|
Use Toolbox > Lettering to add special characters and symbols. Right-click to select lettering options. |
|
|
Use Reshape > Reshape to reposition individual letters on screen. |
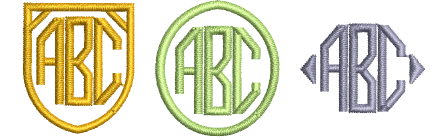
In addition to the dedicated Monogramming feature, EmbroideryStudio allows you to create monogramming designs using special monogram fonts.
1Right-click the Lettering icon to access object properties.
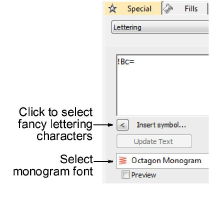
2Select a suitable monogram font such as Octagon Monogram.
3Click Insert Symbol. The Insert Symbol dialog opens.
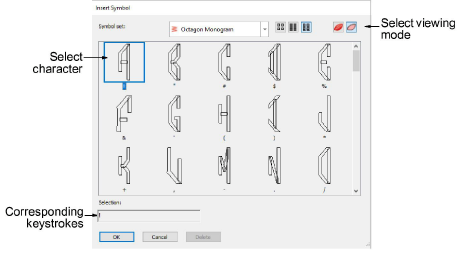
Tip: When you select a character, a keystroke appears in the Selection field. This indicates the key combination required to type the character directly on-screen.
4Select a left-facing letter. Octagon Monogram, for example, has three sets of each letter, one for the left side, one for the middle and one for the right side. When selecting letters, you need to ensure letter orientation is correct.
5Select a middle letter and then a right-facing letter.
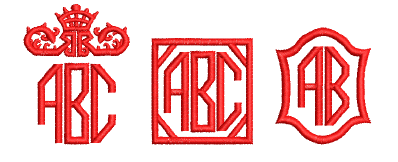
6Select a border as required.

7Click OK. The selected characters are displayed in the text entry panel.
8Click Create Text.
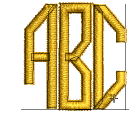
3If you want the letters in your monogram to be different colors, select and recolor one-by-one.

3Use Reshape mode to adjust letter and border spacing. Click the diamond control point to select individual letters.
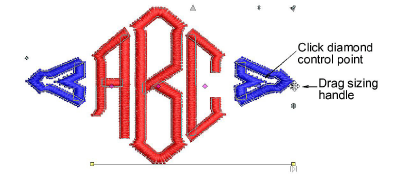
3To resize the border, click the diamond control point and then drag the sizing handle.
Products
EmbroideryStudio Add-ons
Solutions
Learning
Support
Connect
About Wilcom