
Use Traditional Digitizing > Complex Fill to digitize filled shapes with a single stitch angle. Right-click for settings.

Use Traditional Digitizing > Complex Turning to digitize filled shapes with turning stitch angles. Right-click for settings.
|
|
Use Traditional Digitizing > Complex Fill to digitize filled shapes with a single stitch angle. Right-click for settings. |
|
|
Use Traditional Digitizing > Complex Turning to digitize filled shapes with turning stitch angles. Right-click for settings. |
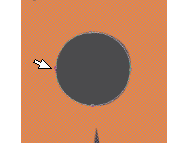
While EmbroideryStudio provides dedicated tools for cutting and filling holes in existing objects, it also lets you add holes to closed shapes as you digitize.
3Use one of the free-form digitizing tools to create your shape. Simply follow the prompts to add holes as you digitize. Alternatively, select the final object and click the associated free-shape tool. Points display around the object outline.
3Digitize additional holes making sure they do not overlap. Press Enter each time.
3If you make a mistake, press Backspace to delete the last point. Press Esc to undo all new points.
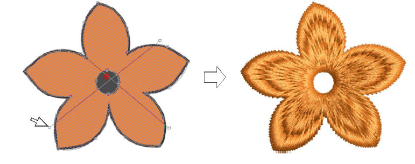
3When you have digitized all additional holes, press Enter again.
3You can create new objects from existing boundaries using the Fill Holes feature. Alternatively, you can use other objects to cut holes. See Removing underlying stitching and Fill holes for details.
3To remove unwanted holes, select the object and use the Reshape tool to delete control points around the hole.
3Removing underlying stitching
Products
EmbroideryStudio Add-ons
Solutions
Learning
Support
Connect
About Wilcom