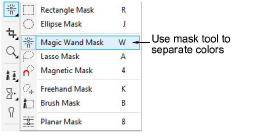
In order for EmbroideryStudio to detect the number of colors used in your garment, you need to separate the photo into different layers for each. The typical photo tool used to separate colors is the masking tool.
Tip: Some graphics packages refer to ‘objects’ rather than ‘layers’.
For example, let’s say you need to separate a T-shirt which employs two colors. The resulting layers (or objects) would look like this:
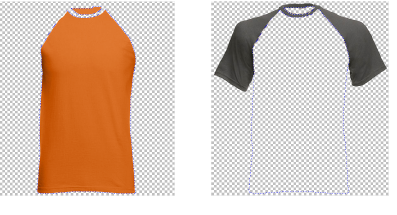
Make sure the background of each layer is transparent.
The following rules apply to a multi-color shirt. Variations on the same approach should be applied to other products such as multi-color caps.
3The body color should always be the layer 1 file.
3Sleeves / collar, if present, should always be the layer 2 file.
3Any other trims and tipping should always be the layer 3 file, unless there is no layer 2.
3Each layer must be saved as a separate grayscale PNG file.
3Each PNG file needs to have identical dimensions, DPI, etc.
Tip: it is important to first create the layers / masks, objects, etc, and then convert the resulting images to grayscale / desaturated.