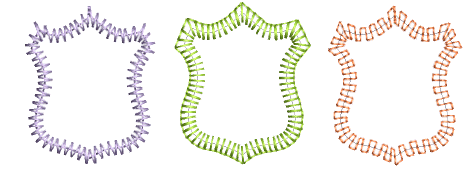
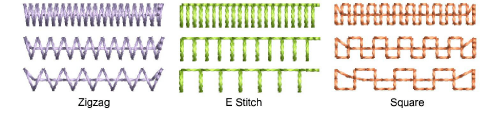
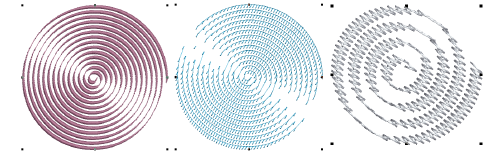
 Las barras de herramientas Tipos de puntadas incluyen Punto zigzag, Puntada E y Cuadrado. Todo se puede utilizar para crear orlas alrededor de apliqués y de otros objetos de bordado. Pueden también usarse para efectos decorativos o rellenos abiertos en los cuales se requiera un bajo número de puntadas. Las puntadas de Zigzag y Zigzag Doble se usan también a menudo como refuerzos.
1Seleccione el método de digitalización que desea usar – abierto o cerrado.
2Seleccione un tipo de puntada de contorno o relleno y cree un objeto de bordado. Alternativamente, seleccione un objeto existente y aplíquele un tipo de puntada.
3Haga doble clic en el objeto o clic derecho en el icono para acceder a propiedades del objeto. Estas le dan control sobre los valores de espaciado de pulgada, longitud y cantidad de puntadas en el corrido.
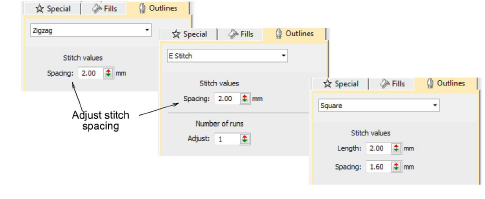
4Ajuste el Espaciado para obtener contornos más o menos densos.
3Crear puntadas paralelas y controlar el ángulo en relación con la horizontal. Úselo para crear bordado tipo caligrafía.
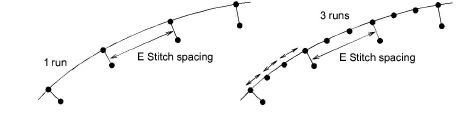
3La Puntada E también le permite establecer el cantidad de corridos:
3Configuraciones de Refuerzo zigzag
3Digitalizar columnas uniformes
Productos
Complementos de EmbroideryStudio
Soluciones
Aprendiendo
|
Copyright ©2025 Wilcom Pty Ltd | Condiciones de uso | Política de privacidad |


