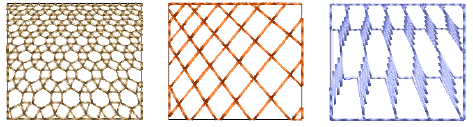
Use Perspectiva con Pandeo 3D para crear un efecto de perspectiva exagerando tamaños relativos.
1Seleccione un objeto de relleno de motivos y haga clic en el icono Pandeo 3D. Se abre el panel Propiedades del objeto > Curva.
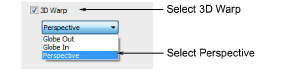
2Seleccione la casilla Pandeo 3D y seleccione Perspectiva de la lista.
3Pulse Intro o haga clic en Aplicar.
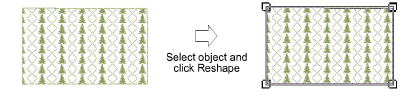
1Haga clic en el icono Reformar. Aparece un marco de guía alrededor del objeto.
2Ajuste el marco para mover las líneas de guía más cercanas la una a la otra o alejarlas.
3Pulse Intro o haga clic en Aplicar.
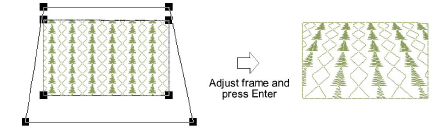
Nota: El marco de guía no debe cruzar el límite exterior de la forma y no puede estar dentro de la forma.
Productos
Complementos de EmbroideryStudio
Soluciones
Aprendiendo
|
Copyright ©2025 Wilcom Pty Ltd | Condiciones de uso | Política de privacidad |

