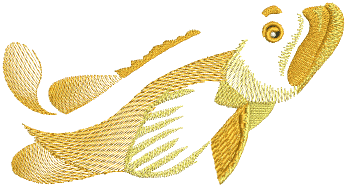
Efecto líquido es similar a Efecto florentino excepto que usted introduce líneas dobles para guiar las puntadas. Las puntadas que giran se distribuyen uniformemente entre las líneas guía para producir curvas suaves. Las líneas guía de Efecto líquido se digitalizan fuera del objeto, en lugar de sobre el objeto. Aunque puede aplicar el efecto a cualquier forma cerrada, anula todos los ángulos de puntada existentes.
1Elija un método de entrada y un tipo de puntada adecuados, y haga clic en Efecto líquido.
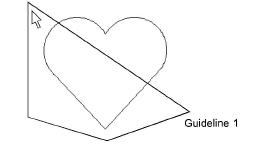
2Digitalice el contorno, los puntos de entrada y salida siguiendo las indicaciones. No se le pedirá que digitalice un ángulo de puntada.
3Digitalice la primera línea guía alrededor de la parte exterior del objeto. Deberá introducir al menos tres puntos de referencia.
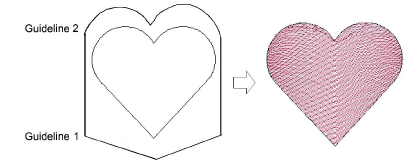
4Pulse Intro. Se le pide que introduzca una segunda línea guía. Aparecen líneas elásticas uniendo las dos líneas guía.
5Digitalice la segunda línea directriz en la misma dirección que la primera, marcando al menos tres puntos de referencia.
Nota: Las dos líneas guía no deben traslapar ni cruzar el contorno del objeto.
6Pulse Intro para aplicarlas.
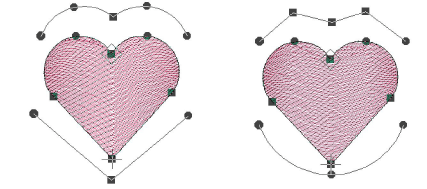
Idea: Use Reformar objeto para modificar las líneas guía.
Productos
Complementos de EmbroideryStudio
Soluciones
Aprendiendo
|
Copyright ©2025 Wilcom Pty Ltd | Condiciones de uso | Política de privacidad |


