Split objects between hoopings
The Add Splitting Line tool allows you to split objects that would not otherwise fit within a hooping. In effect, it allows you to digitize one or more split lines in a multi-hooped design prior to outputting to file, machine or memory card. Although split lines are only visible in Hooping Mode, they are maintained when switching to other modes. Split lines do not affect object integrity and you can still reshape and transform split objects as before.
To split objects between hoopings...
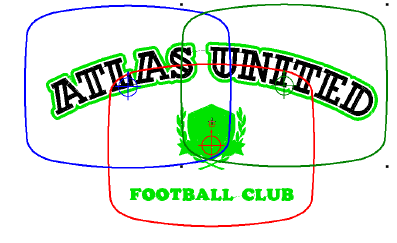
1Manually create your multiple hoopings. While a design may be entirely covered by separate hoop positions, some objects may remain uncovered. Uncovered stitching appears in black.
2Select the Add Splitting Line tool. You are prompted to enter a split line.
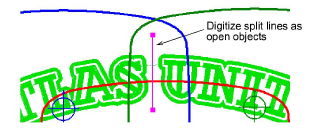
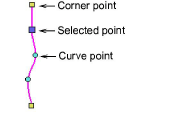
3Digitize split lines just as you would open objects, using right-clicks for curves and left-clicks for corner points.
3As long as splits occur within the sewing field of overlapping hoopings, the resultant ‘split objects’ are displayed in green.
3Object integrity is maintained but they are split on output. The resulting objects will preserve their original object type, stitch angle, parameters and color.
4Repeat as necessary or press Enter to complete.
Note: Split lines can be reshaped using the Reshape tool.
Related topics...
3Create manual multi-hoopings