Auto-digitizing with Photo Flash
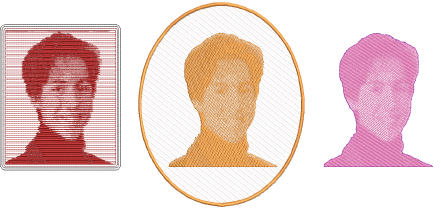
Use Photo Flash to create embroidery from photographs or other images, color or grayscale. Photo Flash designs consist of rows of stitches of varying spacing settings. The effect resembles the output of a line printer. The technique can be used for keepsakes and mementos, as well as commercial embroidery.
To create embroidery with Photo Flash...
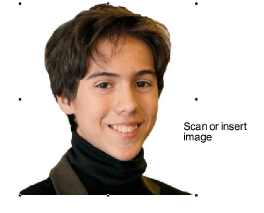
1Scan or insert the photo you want to use. For best results, use crisp images with well-defined subjects and strong contrasts. See Loading bitmap artwork for details.
2Size and/or crop the image for its intended purpose. See Preparing photos for auto-digitizing for details.
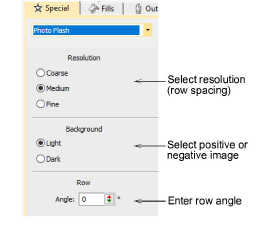
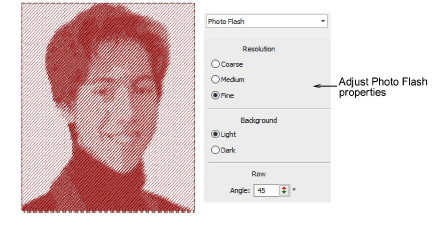
3Select a thread color and, with the image selected, click the Photo Flash icon to access object properties. The Object Properties > Special tab gives you control over settings such as grain or orientation, stitch angle, density or ‘resolution’, as well as background contrast.
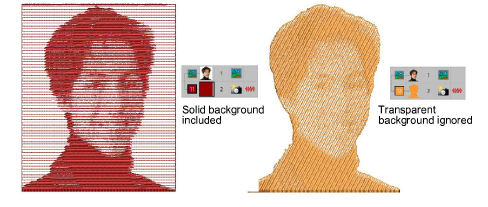
4Click the Apply (tick) button at the bottom of the Object Properties docker. The software analyzes the photo and generates a single monochrome stitch object which resembles the output of a line printer. If the image has a transparent background, Photo Flash ignores it.
5Turn off the image – press D – for a better view.
To adjust Photo Flash settings...
1Double-click the object to re-open the Object Properties docker. Experiment with settings for optimum effect against your chosen background.
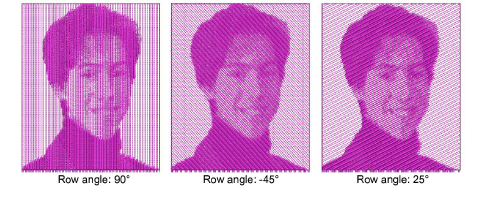
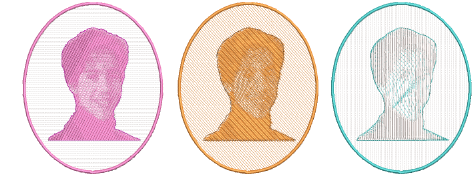
2Adjust the row angle to set the overall angle of stitch lines.
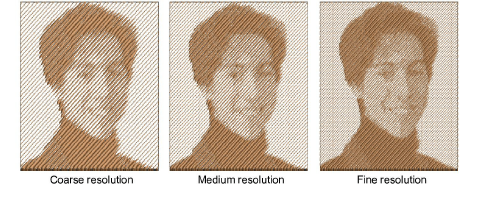
3In the Resolution panel, select a resolution – coarse, medium, or fine. The coarser the resolution the more spacing between rows.
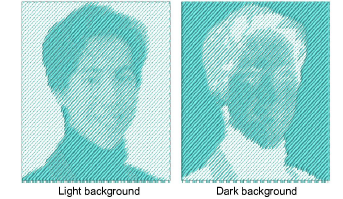
4In the Background panel, choose a background option – light or dark. The option you select usually depends on whether the fabric is light or dark. The Dark option produces a negative of the image.
To adjust stitch settings...
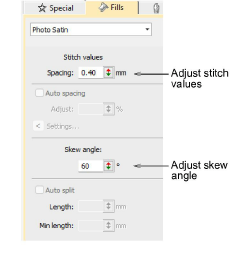
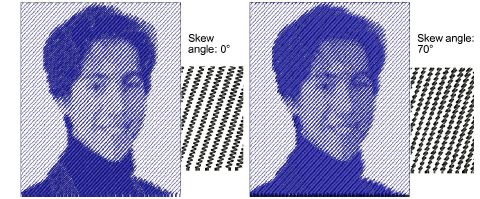
1Select the Fills tab and adjust the stitch spacing and skew angle as preferred.
2The Skew Angle determines the angle of the stitches. Adjust it to run complementary to the grain angle as preferred.
Usage tips...
3If you have defined a cropping area for your bitmap, EmbroideryStudio generates stitches for that area. Otherwise stitches are generated for the entire bitmap.
3The background can be oversized to accommodate a cropping area which extends beyond the image itself. Graphics need to be prepared in an external application.
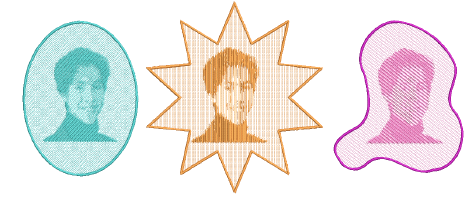
3Combining Photo Flash with duplicate objects, other colors and creative stitch types can create interesting effects.
3While originally intended for use with photographs, Photo Flash can also employ graphics to create appealing commercial embroidery.
3In CorelDRAW Graphics, the Mode toolbar also includes a Tag as Photo Flash icon which allows you to convert photos directly to Photo Flash embroidery.
Related topics...
3Insert bitmap images
3Preparing photos for auto-digitizing
3Crop bitmap images
3Apply satin stitch with auto spacing
3Split satin stitches