The following shows a worked example for digitizing an RCC design in EmbroideryStudio.
Note: In EmbroideryStudio you have to select a new color on the palette for every color change.
1Set up the color chart so that you have the correct thread type and colors on the color palette.
If the thread is not supported, make sure you set the correct colors.
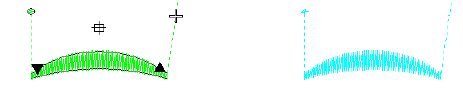
2Click the starting color – e.g. Col1 – digitize your objects.
3Before the next color change, tack the thread safely above the design – usually two manual stitches – to avoid overstitching the hanging thread of the unused color.
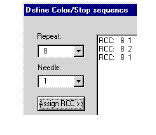
The following sample uses Show Repeat On (8/4) repeat.
4Select the second color – e.g. Col2.
This may be anywhere on the palette, but for clarity it is better to choose the second color.
5Digitize your objects in this color and tack in the end.
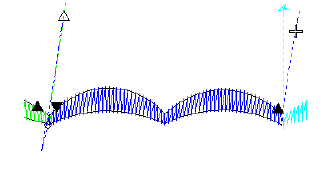
6Select the third color, or return to the first color as required, and digitize your objects.
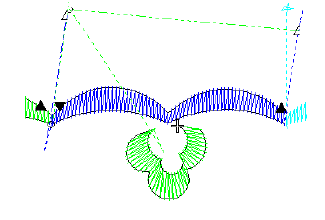
7When finished, check the design and save as ESL.
8Open the Schiffli Disk Converter.
9Select File > Convert and select the ESL file.
10Convert the design to Saurer RCC.

The sample design has two colors but three color blocks – 8/4 first needle, then 8/4 second needle, and back to the first needle.
11Save the T18 file. This is a Wilcom Saurer RCC tape format which can then be converted to Saurer disk format.
12If you want to check the RCC file, view it in FIXPAT. The easiest way to open the file is to drag and drop it from Windows Explorer onto the FIXPAT icon on your desktop.
13View the design by pressing S.
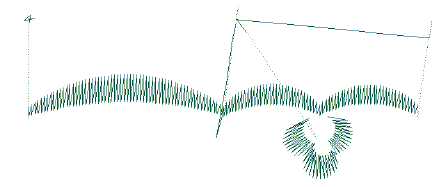
Note: FIXPAT has a limitation – it cannot show the RCC design in different colors.
14To convert to SAS, open the T18 file and convert to Saurer SLC (SAS) file format.
|
Copyright ©2024 Wilcom Pty Ltd | Terms of Use | Privacy Policy |