Combining actual and virtual embroidery offers interesting possibilities. This technique can be used artistically or to add texture and depth to a printed design. It may also be used to lower costs for large production runs while maintaining the appearance of actual embroidery.
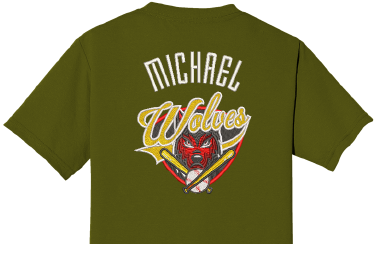
Typically, you will create a virtual embroidery print of an entire design and then overlay real embroidery on some parts of it. Alternatively, you may add embroidery elements such as lettering or team names over a printed design. It is even possible to embroider the whole design in white thread and print virtual embroidery over the top. To produce a design as real embroidery plus virtual embroidery, you have two options – via Wilcom Workspace or via CorelDRAW Graphics.
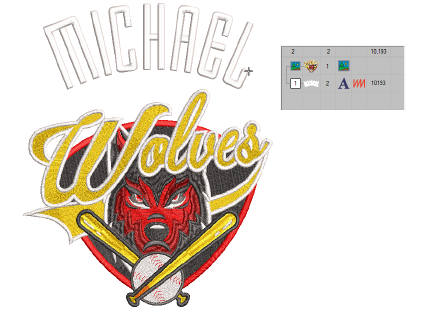
Create a virtual decoration of your embroidery design. See previous.
Import the PNG file into a new blank design via File > Import Graphic.

Add the actual embroidery portion of the design. This may be a portion of the original design. Or it may be a new component such as lettering or even Team Names.
Right-click Auto Start & End.
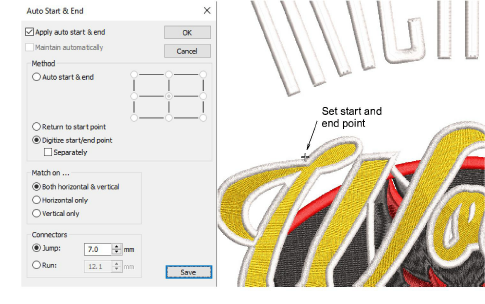
Choose Digitize start/end point and click OK. EmbroideryStudio prompts you to click a point where you want the design to start and end.
Set a point to which you can easily align the needle. When you stitch out the embroidery component, the needle will start and end at this point.
Select the File > Export Multi-Decoration Files command.

Split out the embroidery production and graphics print files and select the formats to export – e.g. DST and PNG.
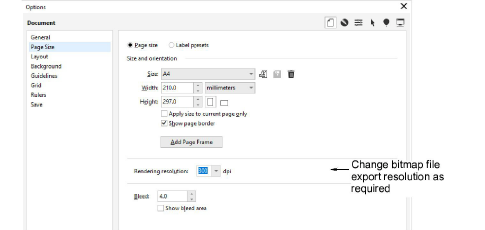
Note: If you choose PNG, it will default to the CorelDRAW default setting of 300 DPI. This can be changed via the CorelDRAW Options dialog.
To obtain the embroidery production file, select File > Export Machine File from the Wilcom Workspace and choose a suitable machine file format – e.g. DST.
To obtain the graphics production file, switch to CorelDRAW Graphics:
Turn off the embroidery display.
Select File > Export > PNG to export the print file for graphics only.
|
Copyright ©2024 Wilcom Pty Ltd | Terms of Use | Privacy Policy |


