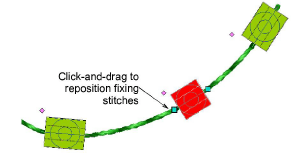
You have complete control over editing bead-run objects, from scaling to adding or removing individual beads. You can also manually fine-tune bead spacing and orienation. You can even edit individual fixing stitches.
Tip: Performing manual edits automatically sets bead positioning to Manual. If you reset to Exact, Contract to fit, or Expand to fit, all manual edits are lost.
Scale bead-run objects by clicking and dragging selection handles, or by adjusting general properties.
With Bead Run Auto objects, bead drops are automatically recalculated.
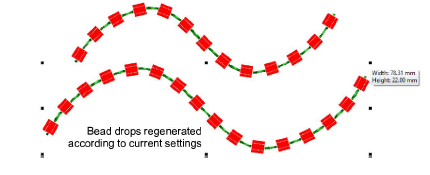
With Bead Run Manual objects, the original number of bead drops is preserved while spacing is increased.
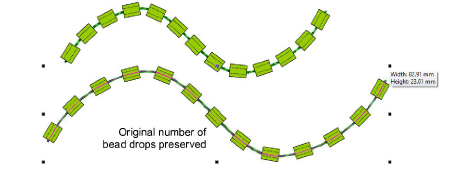
Edit bead runs with Reshape:
Add nodes by left- or right-clicking the outline.
To remove a node, select and press Delete.
Click-and-drag to move the start point. To reverse stitch direction, apply Edit > Reverse > Reverse Curve.

Fine-tune individual bead spacings with the Bead Edit tool. Click-and-drag a diamond control point. Hold down Shift or Ctrl keys to select a range or multiple control points.

Remove selected beads by pressing Delete or via the popup menu. Use the same menu to replace individual beads from the current palette.
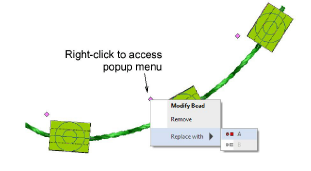
Add beads from the popup menu by holding down the Alt key and clicking the bead run.
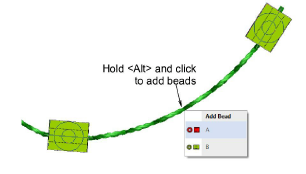
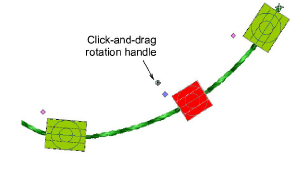
To rotate an individual bead, click the diamond control point. Use the rotation handle to orient the bead as necessary.
Click the bead to activate fixing stitches. Use the handles to fine-tune as necessary.
