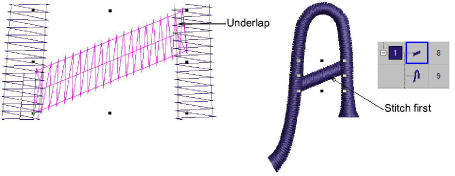
In this project we are going to create sample letters using uppercase A, B, C and lowercase a, b and c. Start digitizing letters using Column A with Satin stitch. Make sure you create sufficient underlap to bind letter strokes together. No underlay or pull compensation is required. This is added when you create actual lettering with the custom font. Make sure you strokes are digitized in the sequence they will be stitched out. Generally, you don’t need to worry about connections between strokes. This is automatically handled when packing the font.

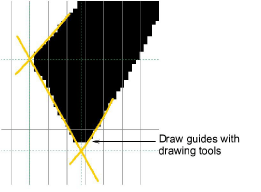
Tip: Use Vector tools to draw guidelines for more accurate digitizing.
