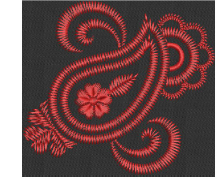
 Satin Raised is often used for folk designs
to mimic handmade embroidery that uses thicker thread. If you require
thicker stitches, set the satin stitch to repeat itself multiple times.
Use Satin Raised
to create raised surfaces consisting of multiple layers of satin
stitching. This can also be applied successfully to some styles of font
for a raised embroidery surface.
Satin Raised is often used for folk designs
to mimic handmade embroidery that uses thicker thread. If you require
thicker stitches, set the satin stitch to repeat itself multiple times.
Use Satin Raised
to create raised surfaces consisting of multiple layers of satin
stitching. This can also be applied successfully to some styles of font
for a raised embroidery surface.
1Right-click the Satin icon to access object properties.
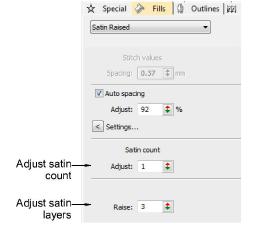
2Enter the number of repetitions in the Satin Count field.
Caution: Using a value higher than 10 may cause thread breaks, depending on the design, fabric, or thread tension.
3With Satin Raised, adjust the number of layers of stitching as preferred.
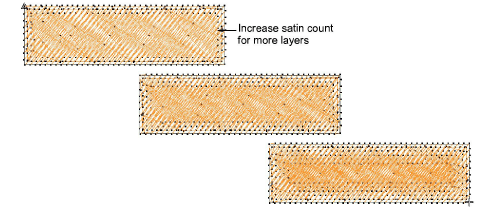
Tip: When you increase satin stitch count, you should also increase the spacing to avoid bunching and thread breaks.
|
Copyright ©2024 Wilcom Pty Ltd | Terms of Use | Privacy Policy |


